Think your lawn is beyond repair? Don’t despair, I’m going to show you how to rescue any lawn my easy to follow, step by step guide.
- Assess your lawn and write down what you feel needs to improve
- Start by removing debris and thatch
- Aerate to relieve soil compaction
- Create a level surface
- Overseed if necessary
- Feed the lawn and the soil
- Boost growth with a lawn tonic
- Establish a regular mowing regime
- Be patient
- Mark your calendar with a reminder to carry out feeding and renovating on a regular basis
Start With A Thorough Lawn Assessment
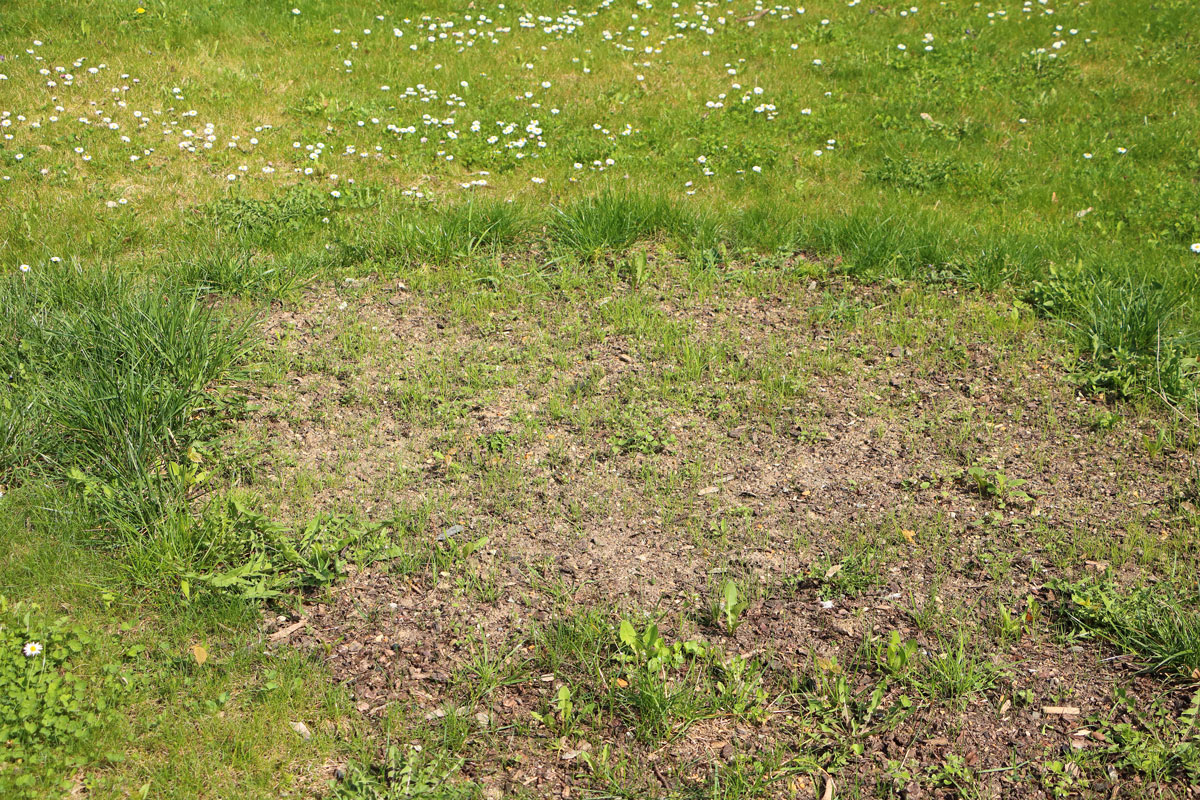
Bare patches, weak grasses, weeds and uneven colour – this lawn is ready to be rescued.
It’s all too easy to look out of your window and decide that your lawn looks awful. But what does awful mean? To rescue any lawn involves science. You need to set objectives, carry out the tasks that will help you achieve the results you want, and then assess whether or not you’ve been successful.
We all of us have different ideas of how a lawn should look. But for the most part, I think it’s fair to say that a nice level surface and good plant coverage are essential. You may also want to think about the type of sward you want (weed free? very short? family friendly?) and how much time you have to spend on renovating your lawn.
Write a list of what YOU feel is wrong with your lawn. It might look something like this….
- Very uneven surface with humps and hollows and a big dip in the middle
- Grass is very thin in places, especially under the apple tree
- Pale patches – looks like a different type of grass
- Very mossy
- Lawn edges are ragged and untidy
- Dandelions!
Decluttering your lawn
The first stage of any garden renovation is to get rid of what you don’t want. Have a good old de-clutter. So the first thing you need to do to rescue any lawn, is to remove the rubbish.
Start with the big stuff. Furniture, toys, dog detritus, twigs and fallen leaves, all need to be taken off the lawn.
If you have broadleaved weeds in your lawn that you don’t want – dig them out. If there are too many to remove by hand, you can ask the experts on The Premier Lawns Community page on Facebook to help you identify them and suggest the most effective chemical control. Don’t be embarrassed to post pictures of your lawn – trust me, most of us will have seen worse!
Herbicides may take a few weeks to work – be patient and wait until the weeds have died before you move on to scarifying.
Scarifying is like giving your lawn a deep clean. It pulls out any dead leaves and moss that are literally choking the grass plants in your lawn. Once you’ve finished, your lawn may well look worse than ever – but, as my Granny used to say, you have to make a mess to clean one up.
With the debris removed – you really can see what you’re dealing with.
Did you remove a lot of moss when you scarified? As soon as you’ve finished both scarifying and aerating your lawn, apply some Iron Sulphate to weaken any moss you may have missed and to discourage moss spores from germinating.
Relieve Soil Compaction And Allow The Plants To Breath
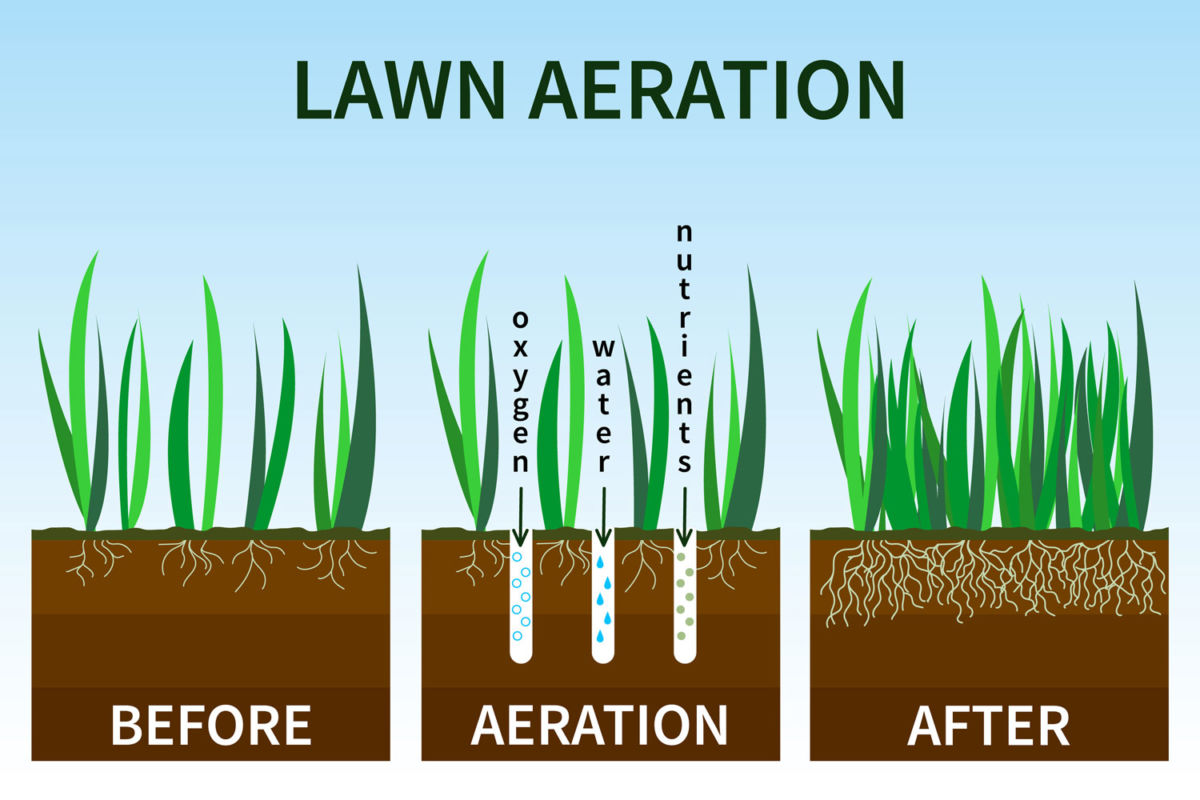
One of the biggest contributors to ugly lawns is soil compaction. Now, when you’re growing vegetables or flowers, you tend to dig or rake the soil on a regular basis. Partly to remove weeds but also to relieve compaction and let air and water move more freely around the plants’ roots. You can’t easily do that with a lawn, but you DO need to open up the soil structure to encourage the roots to grow deeper and stronger.
Aeration is a technique used by Greenkeepers and lawnlovers to help rescue any lawn. Done regularly (once or twice a year) aeration makes a massive improvement to the health of the grass plants. It makes it easier for them to absorb the water and nutrients that they need to grow and to cope with frost, pests and diseases.
Let’s do a quick experiment. Nip out to your shed and grab the longest screwdriver you have – if you haven’t got a screwdriver, a steel knitting needle will do the same job. Push the point/blade as deep into your lawn as you can. How easy did you find it? Ideally, it won’t need much effort at all – roughly the same amount of pressure it takes to push a knife through a well cooked jacket potato. If you have to press hard, or if you can’t get the blade to go very deep – then your lawn is definitely compacted.
Hollow tine aeration is definitely what you need if you are trying to rescue any lawn. It removes little plugs of dirt and really opens up the soil structure. Some people prefer to aerate before they scarify – if you’re doing both jobs on the same day and removing all of the debris, it really doesn’t matter which order you work in.
Levelling A Lumpy Lawn
Now that your grass plants have room to grow and the soil structure has been improved, it’s time to tackle any lumps and bumps on the surface of your lawn. Lumpy lawns always look a bit like a patchwork quilt. The high areas tend to be scalped by the mower, leaving them looking pale and bare, whilst the grass grows longer in the hollows meaning it’s darker green.
You can find the low spots by laying a broom handle on the lawn and popping a spirit level on top of it to make sure it’s horizontal. If you can fit your hand underneath the broom handle – the levels need building up.
Any large lumps can be removed by using a knife to cut an “H” shape in the grass. The central bar of the H should lie across the highest part of the mound whilst the uprights should lie either side of it. Peel back the turf from the centre of the mound – like opening the curtains. Dig out the excess soil, level it and replace the turf. Check your levels then keep the area well watered until the turf roots in again.
I like to use good quality topsoil to level a lawn. Simply spread it on top of the grass and use a stiff broom or a rake to adjust the levels. I’ve posted a video at the end of this piece to show you how to aerate, scarify and level out a bumpy lawn.
Overseeding Bare Patches
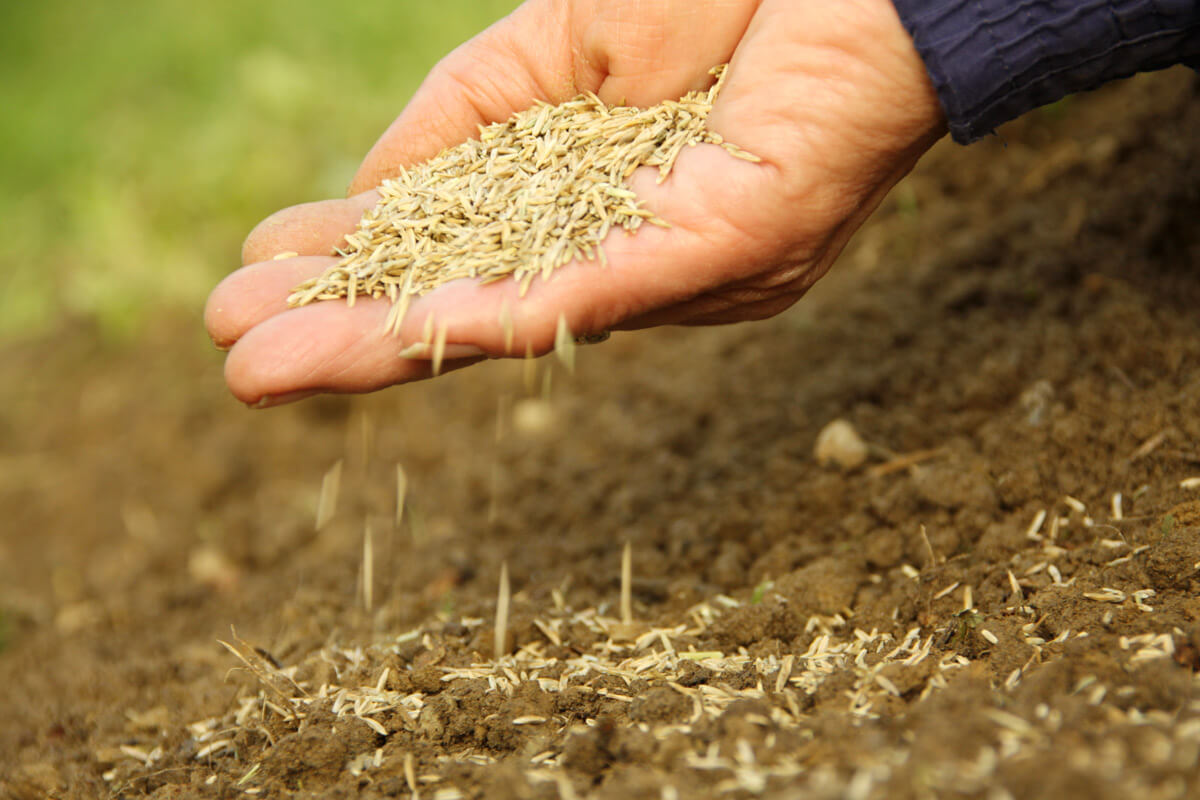
If you can see the soil beneath your lawn without having to get on your knees to look – then overseeding should be the next step of your lawn rescue mission. Be sure to choose your seed variety carefully according to conditions in your garden and how you want to use your lawn.
There’s a detailed article on choosing seed here. I’ll post the link again at the bottom of the page.
Feeding Your Lawn
Lawn grasses are surprisingly hungry plants. It doesn’t take long for them to use up any plant food reserves in the soil and after that, they tend to become a bit weak and weary. If you want to rescue any lawn, you need to keep on replacing the soil nutrients that the plants have used.
A note of caution here – please don’t be tempted to apply too much lawn feed at once. Just like me and red wine – a little bit makes me feel ok, but if I overdo it I feel very unwell indeed. Follow the manufacturers recommendations to the letter. If you pour on too much feed you will scorch and maybe even kill your lawn.
The first feed you give your lawn will start to take effect immediately and it won’t be many days before you start to notice the plants looking greener, plumper and much much happier. Don’t get complacent though, you need to apply fertiliser regularly (check the manufacturers instructions because they all work in different ways). You also need to use the right feed for the time of year.
Read more about lawn feeding in this article. (Link also appears at the bottom of the page).
Rescue Any Lawn With This Booster
I’m a big fan of using seaweed based treatments on lawns. They’re great at boosting lawns that are almost perfect and they’re even better at reviving tired and ailing lawns. Seaweed treatments are the equivalent of the tonics or multivitamins we use to help our own bodies work better.
Apply every 6-8 weeks throughout the year and your lawn will definitely thank you for it.
Mowing
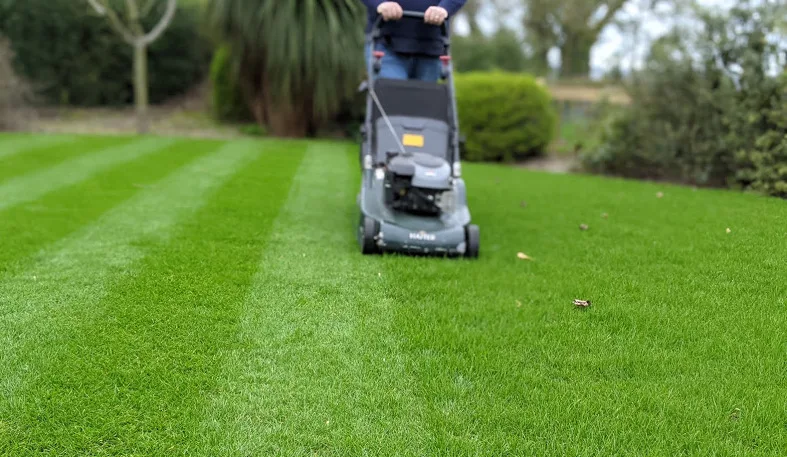
No article on how to rescue any lawn would be complete without talking about mowing. How you mow your lawn can literally make or break it.
The dream lawns we talked about at the beginning of the article are different for everyone. And your ultimate aim may well be to have a close mown, bowling green type lawn. But whilst the grass plants are recovering from all of your renovations, it’s a good idea to treat your lawn as though it were a family lawn.
Mow regularly – at least once or twice a week during the growing season – but NEVER forget the 1/3 rule. Mowing little and often encourages healthy growth, cut off more than 1/3 of the grass blade and you will weaken the plants. Which is the last thing you want right now.
5-8cm is a good length for a recovering lawn. Once it’s well established and looking strong and healthy you can gradually reduce the cutting height. But if I were you I’d maintain it as long as possible for at least 6 months….more if you can bear it. The length of the roots beneath the ground depends entirely on them receiving plenty of energy from the sun. Reduce the surface area of the grass blades too much and you’ll stunt root growth.
Patience Is A Virtue
As far as I’m aware, nobody has ever created their perfect lawn in just one season. And if you want to rescue any lawn, you must be prepared to be patient. You WILL see improvements very soon after you’ve carried out the renovations. However it may take weeks, months, or even years for you to achieve your ultimate goal. Even digging up your lawn and re-turfing it doesn’t give you instant perfection. Plants react to the weather, to the amount of nutrients in the soil, to wear and tear and probably to all sorts of things that scientists haven’t discovered yet. Making the perfect lawn requires patience, diligence and a thirst for knowledge….and it feels wonderful when you finally get there!
Useful Links
Where to get answers to your questions…
Join the Premier Lawns Community on Facebook and get tons of support and free lawn care.
Subscribe to Premier Lawns’ YouTube Channel for helpful lawn care videos
Recommended lawn care products – Ordering via Premier Lawns’ Amazon shop helps to support our articles and videos
