Before you start
You will need a lawnmower with a rear roller attachment. It’s the roller that bends the grass in order to make the stripes. Make sure the blades are clean and sharp. Blunt blades tear at the grass and give a substandard finish.Choose a time when the grass is fairly dry and you feel relaxed. If this is your first attempt to mow stripes in your lawn you’ll need to concentrate without getting frustrated.Trim the lawn edges. It’s a simple job but it really does make a difference to the overall effect.
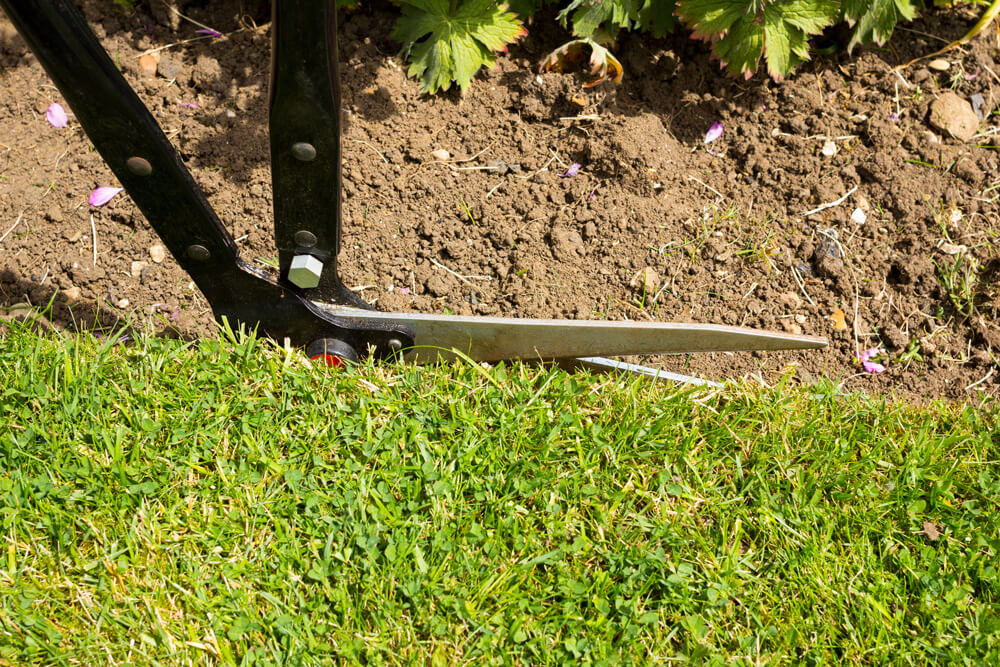
Trimming the edges of your lawn before you start mowing give it a crisp, professional finish. This type of edging tool is easy to use The image shown is NOT one of Premier Lawns customers
First of all, mow yourself a turning strip
Mow two widths of the mower around the lawn, in opposite directions. This will give you a nice border to frame your stripes and for you to turn around on at the end of each “run”. Pro tip – Go over the same stripes once you finish too.Find a straight edge
Assuming that you are going to mow straight lines, decide which direction you want them to run and then try to find a straight edge to orientate yourself with. Depending on the shape of your lawn, that’s not always possible. I find that a path or a patio is a great help.
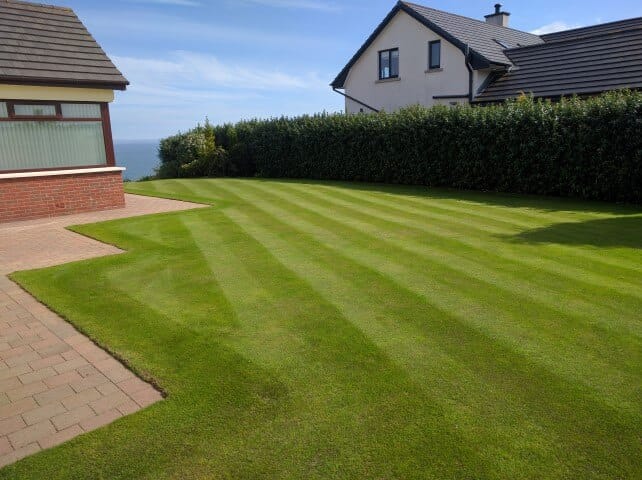
An example of Premier Lawns grass cutting service. This is a striped lawn in Newtownabbey
No straight edge? Try this trick
If you have a beautiful curvy lawn or it’s not quite straight, my tip is this. Stand with your mower poised at the edge of the lawn. Fix your gaze onto an object on the other side of the lawn where you want the stripe to end. Perhaps a particular plant, a fence post or a marker placed in the hedge. Don’t pick something too far away, keep it close to the edge of the lawn.Mow the first stripe in your lawn
Now start mowing. Walk at a nice even pace keeping your eye fixed on your marker. Don’t turn your head left or right because your body naturally follows your head and you’ll end up with a wiggly stripe. Keep going until you reach the end.Now you have your first stripe. If it’s wonky or bendy, take a breath and cut a new line. Following a wonky line will get more pronounced at each cut.Making more stripes

This is a lawn in Malone, Belfast that we maintain, this was the first cut after spring scarification, there are some small scare marks still on the lawn


