
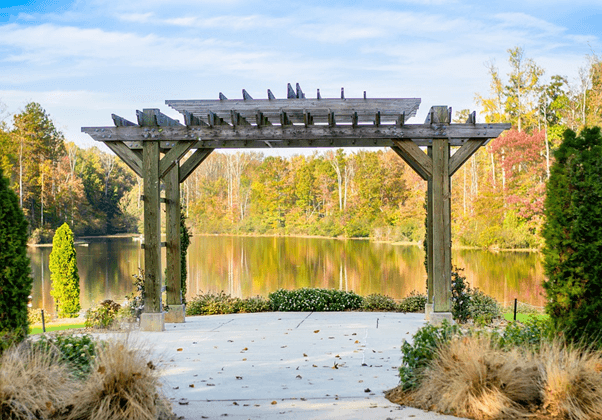
Our wooden pergola DIY will guide you on how to create a beautiful design element in the garden that can serve you as a terrace, dining area or whatever you wish it to be. Pergolas are available on the market in a wide variety of materials, shapes and sizes. With our guide, you can build a wooden pergola from scratch yourself even if you lack experience in handicraft and building.
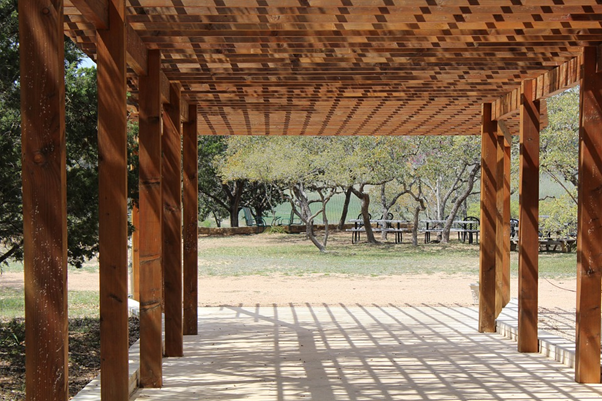
Before you start the building, you should think about the size and design of the future construction. While designing a self-made wooden pergola, for beginners it is recommended to choose a classic, geometrical form of wooden pillars, supporting posts, cross beams and rafters. But you can also build a pergola with round arches, additional climbing trellises or a side windbreak. While planning your pergola you should consider the future purpose of your building. For example, if you construct your pergola purely for decoration, the shape can be kept narrower, as plants growing into the pergola will not influence the usability of the interior. You have to take into account that, if you want to decorate your pergola with plants, you usually need to attach additional trellises for better plant density.
Read on for our 5 steps on how to build a wooden pergola.
1. Laying a foundation for your pergola
We recommend a concrete foundation for your pergola, while it, along with the metal post supports, allows the construction to stay stable and keeps a pergola structure and wood condition in its best possible way.
Start with digging 4 holes at the desired places of pergola posts. Form footage by filling the bottom of the holes with compact gravel. Pour the concrete into the holes, align and put the metal post supports into it. Wait until the concrete footings dry and only afterwards you can secure post bars to the pergola foundation.
2. Building the basis of the construction
The next step depends on the desired type of roofing. If you lack experience in building, we recommend choosing simple, and rather unsophisticated structures, described below.
Two cross beam bars can be attached up to the top of the post with metal corner brackets, the beam bars should be of the same size as post bars.
An alternative way of beam construction can be clamping a pair of boards to the posts from both sides and screwing them with carriage bolts. Such beams add your pergola a bit of complexity and elegance. They also don’t overload the structure and make the beams look harmonious in combination with the rafters since in such case, boards of the rafters and the beams are usually of the same size.
If you need to extend the beams, just take two short bars and saw out a piece at the ends of each of them, so that they have joints and can be interlocked with each other, attached to the post and afterwards secured with the metal brackets from below. Why below? It should be done so in order to hide the metal fasteners away and save the aesthetic and rustical look of the pergola. Don’t forget to check with a spirit level at each step of the building, if everything in your construction is even.
3. Securing the rafters
Before the rafters are secured to the beams, think if you want to give them any special look to make your pergola look stylish. You can make decorative slanted cuts at both ends of the beams. It is the easiest way to make the structure look more interesting and stylish. You can also experiment with the form of the cuts with the help of a jigsaw, for example, you can give the cuts curvy or round form.
The rafters should better have cut-outs in order to be upright attached to the beams more securely and afterwards, they should be securely fastened with hurricane ties. To make the cut-out at the right place and of the needed size, it is better to first fasten the whole construction with screw clamps or in any other secure way and precisely do the markings for the cut-outs. Only after this procedure, you can fit the rafters to the beams and secure them with the metal hurricane ties from below. Additional stability can be given to the pergola by adding cross braces to the structure.
4. Protecting the construction
When your pergola is ready, cover it with the special wood protective coating or paint. It will make the construction weatherproof, which is extremely important for an outdoor wooden building, and as a result, will let you enjoy your wooden masterpiece for many years.
Let the paint soak into and dry and only after you are sure it is ready, make further decorations.
5. Decoration ideas
Probably the easiest and most natural deco for your pergola are plants. The best choice would be any climbing ones, such grapes or some arts of roses – the range of them is extremely wide and can please any taste.
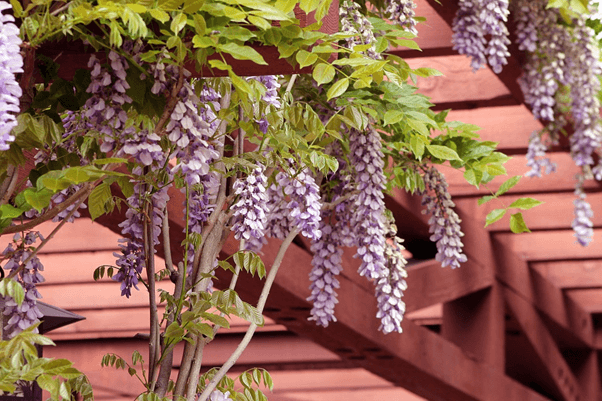
In a couple of years your plants will give you a nice shelter from the burning summer sunshine and probably even rain, depending on the plant’s density, but still will allow fresh air freely ventilate the construction, making your pergola truly the cosiest place in your garden.
In case you want the pergola to lend you shelter even during heavy rain and to function as a terrasse, plants are naturally not enough. The best option would be laying proper roofing, for instance with the help of twin-wall polycarbonate sheets. Weatherproof qualities of such pergola are good enough for staying during bad weather, as well as for using it as a carport. It would be fair enough to say that there are no limits of possible ways to use your pergola, maybe only its size can be a limit.
Article submitted by guest blogger Kimberley Cornish from SummerHouse 24.
Our guide on how to build a wooden pergola in your backyard will give you an extra space to relax, dine, or entertain and can really help set off your home, lawn, and garden. For advice on how to get the perfect lawn to complement your new pergola read our articles:
How to get and maintain a beautiful lawn.
How to prepare your lawn for summer.